Bringing Your Vision to Life
With over 14 years in software product development and a passion for emerging technologies like Generative AI, Machine Learning, Spatial Computing, I guide businesses through creating impactful digital products.
Brancher.ai
Connect AI models to build AI apps in minutes, with no-code
A hackathon-winner. Generative AI project that lets users build and distribute Gen AI apps with no code
View Case Study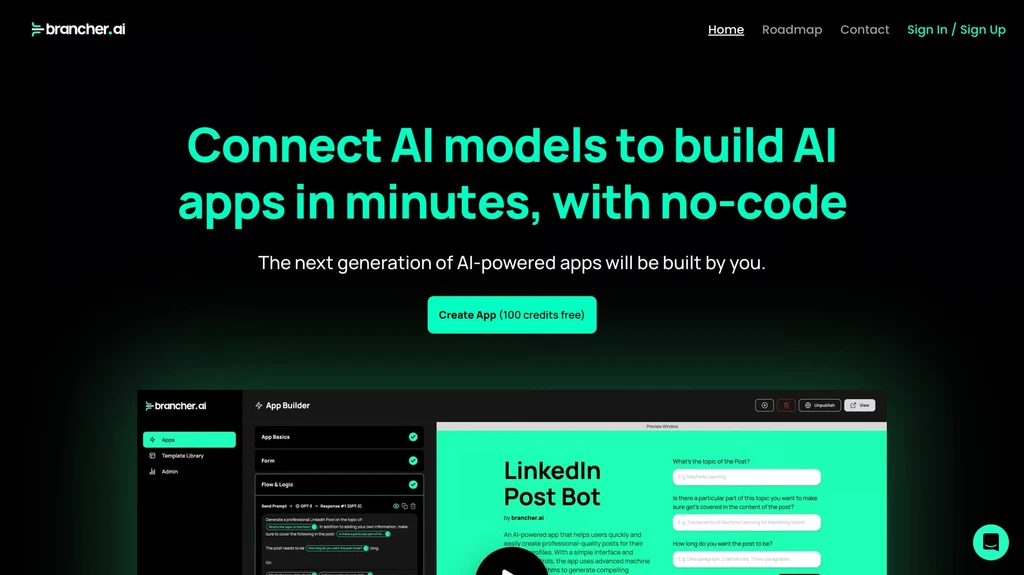
Users
120,000+
Playing Users
200+
Jinny AI
Gen AI interface for human-robot interaction
A PoC, voice and speech enabled robot interface powered by ChatGPT and ElevenLabs to achieve human-like conversations
View Case StudyMVP
1 Week
Fresh Labs
In addition to building and deploying cutting-edge web apps and experiences, we share and talk about all things emerging tech in the Generative AI, Augmented / Virtual Reality, Metaverse, Web3, and more.
Visit Website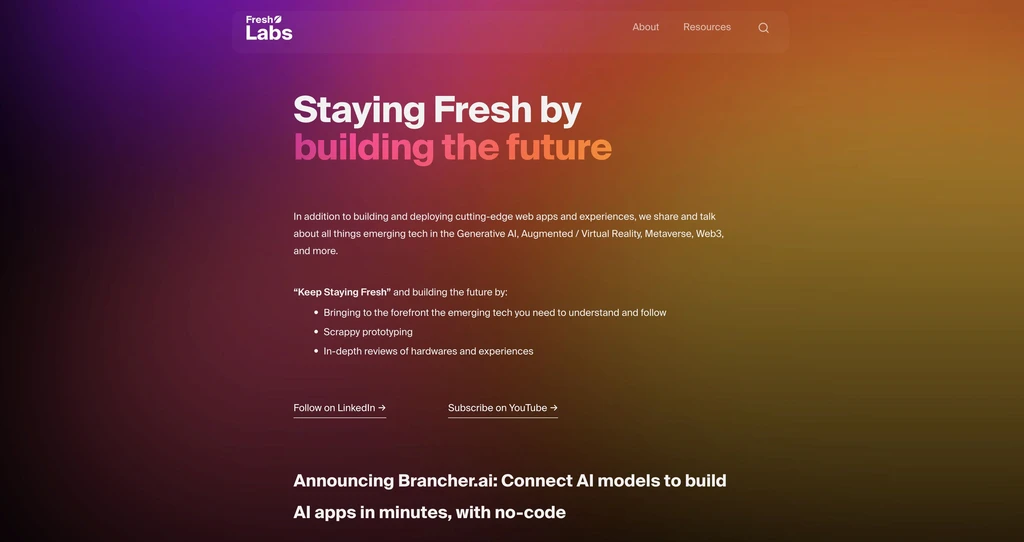
Content Created
50+
Projects Released
5
Innovation Process
4-step process to ensure your innovation vision comes to a fruition
Experience
Technical Innovation Director
Strategy, Software Engineering, Internal Ops, Management, Bus Dev, Consulting
Fresh Consulting
Nov 2010 - Present
Technical Co-Founder
Strategy, Software Engineering
Brancher.ai
Nov 2022 - Present
Technical Co-Founder
Strategy, Software Engineering, Mobile App Development, Branding, and UI/UX Design
Zapiary
Aug 2018 - Nov 2021